
The foundation for an OT-BASE/Elastic integration is the capability of OT-BASE to export inventory data in the JSON format. This can be done both as a static dump and as an online REST interaction. In this article we’ll focus on the static dump scenario that comes with some interesting offline use cases.
The first step is to select the asset data that you want to export in the OT-BASE device inventory and then click “JSON Export”. As a result, a JSON file called “OT-BASE Devices.json” will be downloaded to your computer. This JSON file contains asset details of the devices you have selected.

Before this data can be indexed by Elasticsearch, it must be converted because we don’t want to import one device at a time. In order to use the bulk import feature of Elastic, we need to convert the JSON file to a proprietary bulk format that looks similar to this:
{“deviceId”: “K.541.PR1”, “name”: “K.541.PR1”, “description”: “”, “installationDate”: “”, “stage”: “Operational”, “serialNumber”: “”, “baseline”: “”, “zone”: “Level 2”, “safety”: “”, “release”: “”, “hardware”: {“vendor”: “Hewlett-Packard”, “vendorLink”: “”, “model”: “Laserjet”, “type”: “Printer”, “version”: “”, “orderNumber”: “”, “description”: “”, “endOfLife”: “”, “safety”: “”, “lifecycle”: “”}, “context”: {“location”: “North America / USA / Flat Rock Plant / Electrical workshop / Server room 1”, “locationId”: “”, “otSystem”: “”, “deviceGroup”: “OT / Siemens / PCS7 / Operator Terminals”, “processes”: [{“name”: “Car manufacturing / Body in white”, “location”: “North America / USA / Flat Rock Plant / Body in white”, “locationId”: “”}]}, “tags”: [], “connections”: [{“network”: “Flat Rock Terminal Bus 1”, “medium”: “Copper”, “L2Address”: “”, “L3Address”: “192.168.100.118”, “networkAddress”: “192.168.100.0/24”, “networkType”: “IP”, “port”: “”, “vlan”: “”, “counterpart”: “K.541.U01”, “remotePort”: “2”, “remoteDesc”: “Terminal Bus Switch”, “ifName”: “”, “ifStatus”: “Up”, “speed”: “”, “networkLocation”: “North America / USA / Flat Rock Plant / Body in white / Control room”, “networkLocationId”: “”}], “software”: [], “modules”: []}
{ “index”:{} }
{“deviceId”: “K.541.PR2”, “name”: “K.541.PR2”, “description”: “”, “installationDate”: “”, “stage”: “Operational”, “serialNumber”: “”, “baseline”: “”, “zone”: “Level 2”, “safety”: “”, “release”: “”, “hardware”: {“vendor”: “Hewlett-Packard”, “vendorLink”: “”, “model”: “Laserjet”, “type”: “Printer”, “version”: “”, “orderNumber”: “”, “description”: “”, “endOfLife”: “”, “safety”: “”, “lifecycle”: “”}, “context”: {“location”: “North America / USA / Flat Rock Plant / Electrical workshop / Server room 2”, “locationId”: “”, “otSystem”: “”, “deviceGroup”: “OT / Siemens / PCS7 / Engineering”, “processes”: [{“name”: “Car manufacturing / Body in white”, “location”: “North America / USA / Flat Rock Plant / Body in white”, “locationId”: “”}]}, “tags”: [], “connections”: [{“network”: “Flat Rock Terminal Bus 1”, “medium”: “Copper”, “L2Address”: “”, “L3Address”: “192.168.100.119”, “networkAddress”: “192.168.100.0/24”, “networkType”: “IP”, “port”: “”, “vlan”: “”, “counterpart”: “K.541.U02”, “remotePort”: “1”, “remoteDesc”: “Terminal Bus Switch”, “ifName”: “”, “ifStatus”: “Up”, “speed”: “”, “networkLocation”: “North America / USA / Flat Rock Plant / Body in white / Control room”, “networkLocationId”: “”}], “software”: [], “modules”: []}
from json import loads, dumps
from sys import argv
DESCRIPTION = “””
Generate Elasticsearch bulk input files from OT-BASE export data.
“””
USAGE = ‘es_convert.py <OT-BASE Devices.json> <Result.data>’
def _main():
if(len(argv) != 3):
raise Exception(“%s\\nUsage: %s” % (DESCRIPTION, USAGE))
print(“Reading JSON file \\”%s\\”…” % argv[1])
with open(argv[1], ‘r’) as f:
jsonData = loads(f.read())
result = “”
print(“Processing data…”)
for device in jsonData.get(‘devices’, []):
result += “{ \\”index\\”:{} }\\n” + dumps(device) + “\\n”;
print(“Writing Elasticsearch bulk input file \\”%s\\”…” % argv[2])
with open(argv[2], ‘w’) as f:
f.write(result);
if __name__ == ‘__main__’:
try:
_main();
except Exception as err:
print(err)
After the curl call, your asset data is indexed by Elastic, assuming that your server is configured properly. What could be easier to check it out than using Kibana, the visualization front-end.
First, you need to create an index pattern for the new otdevices index (or any other name that you have used when uploading the asset data) so that Kibana can use it.
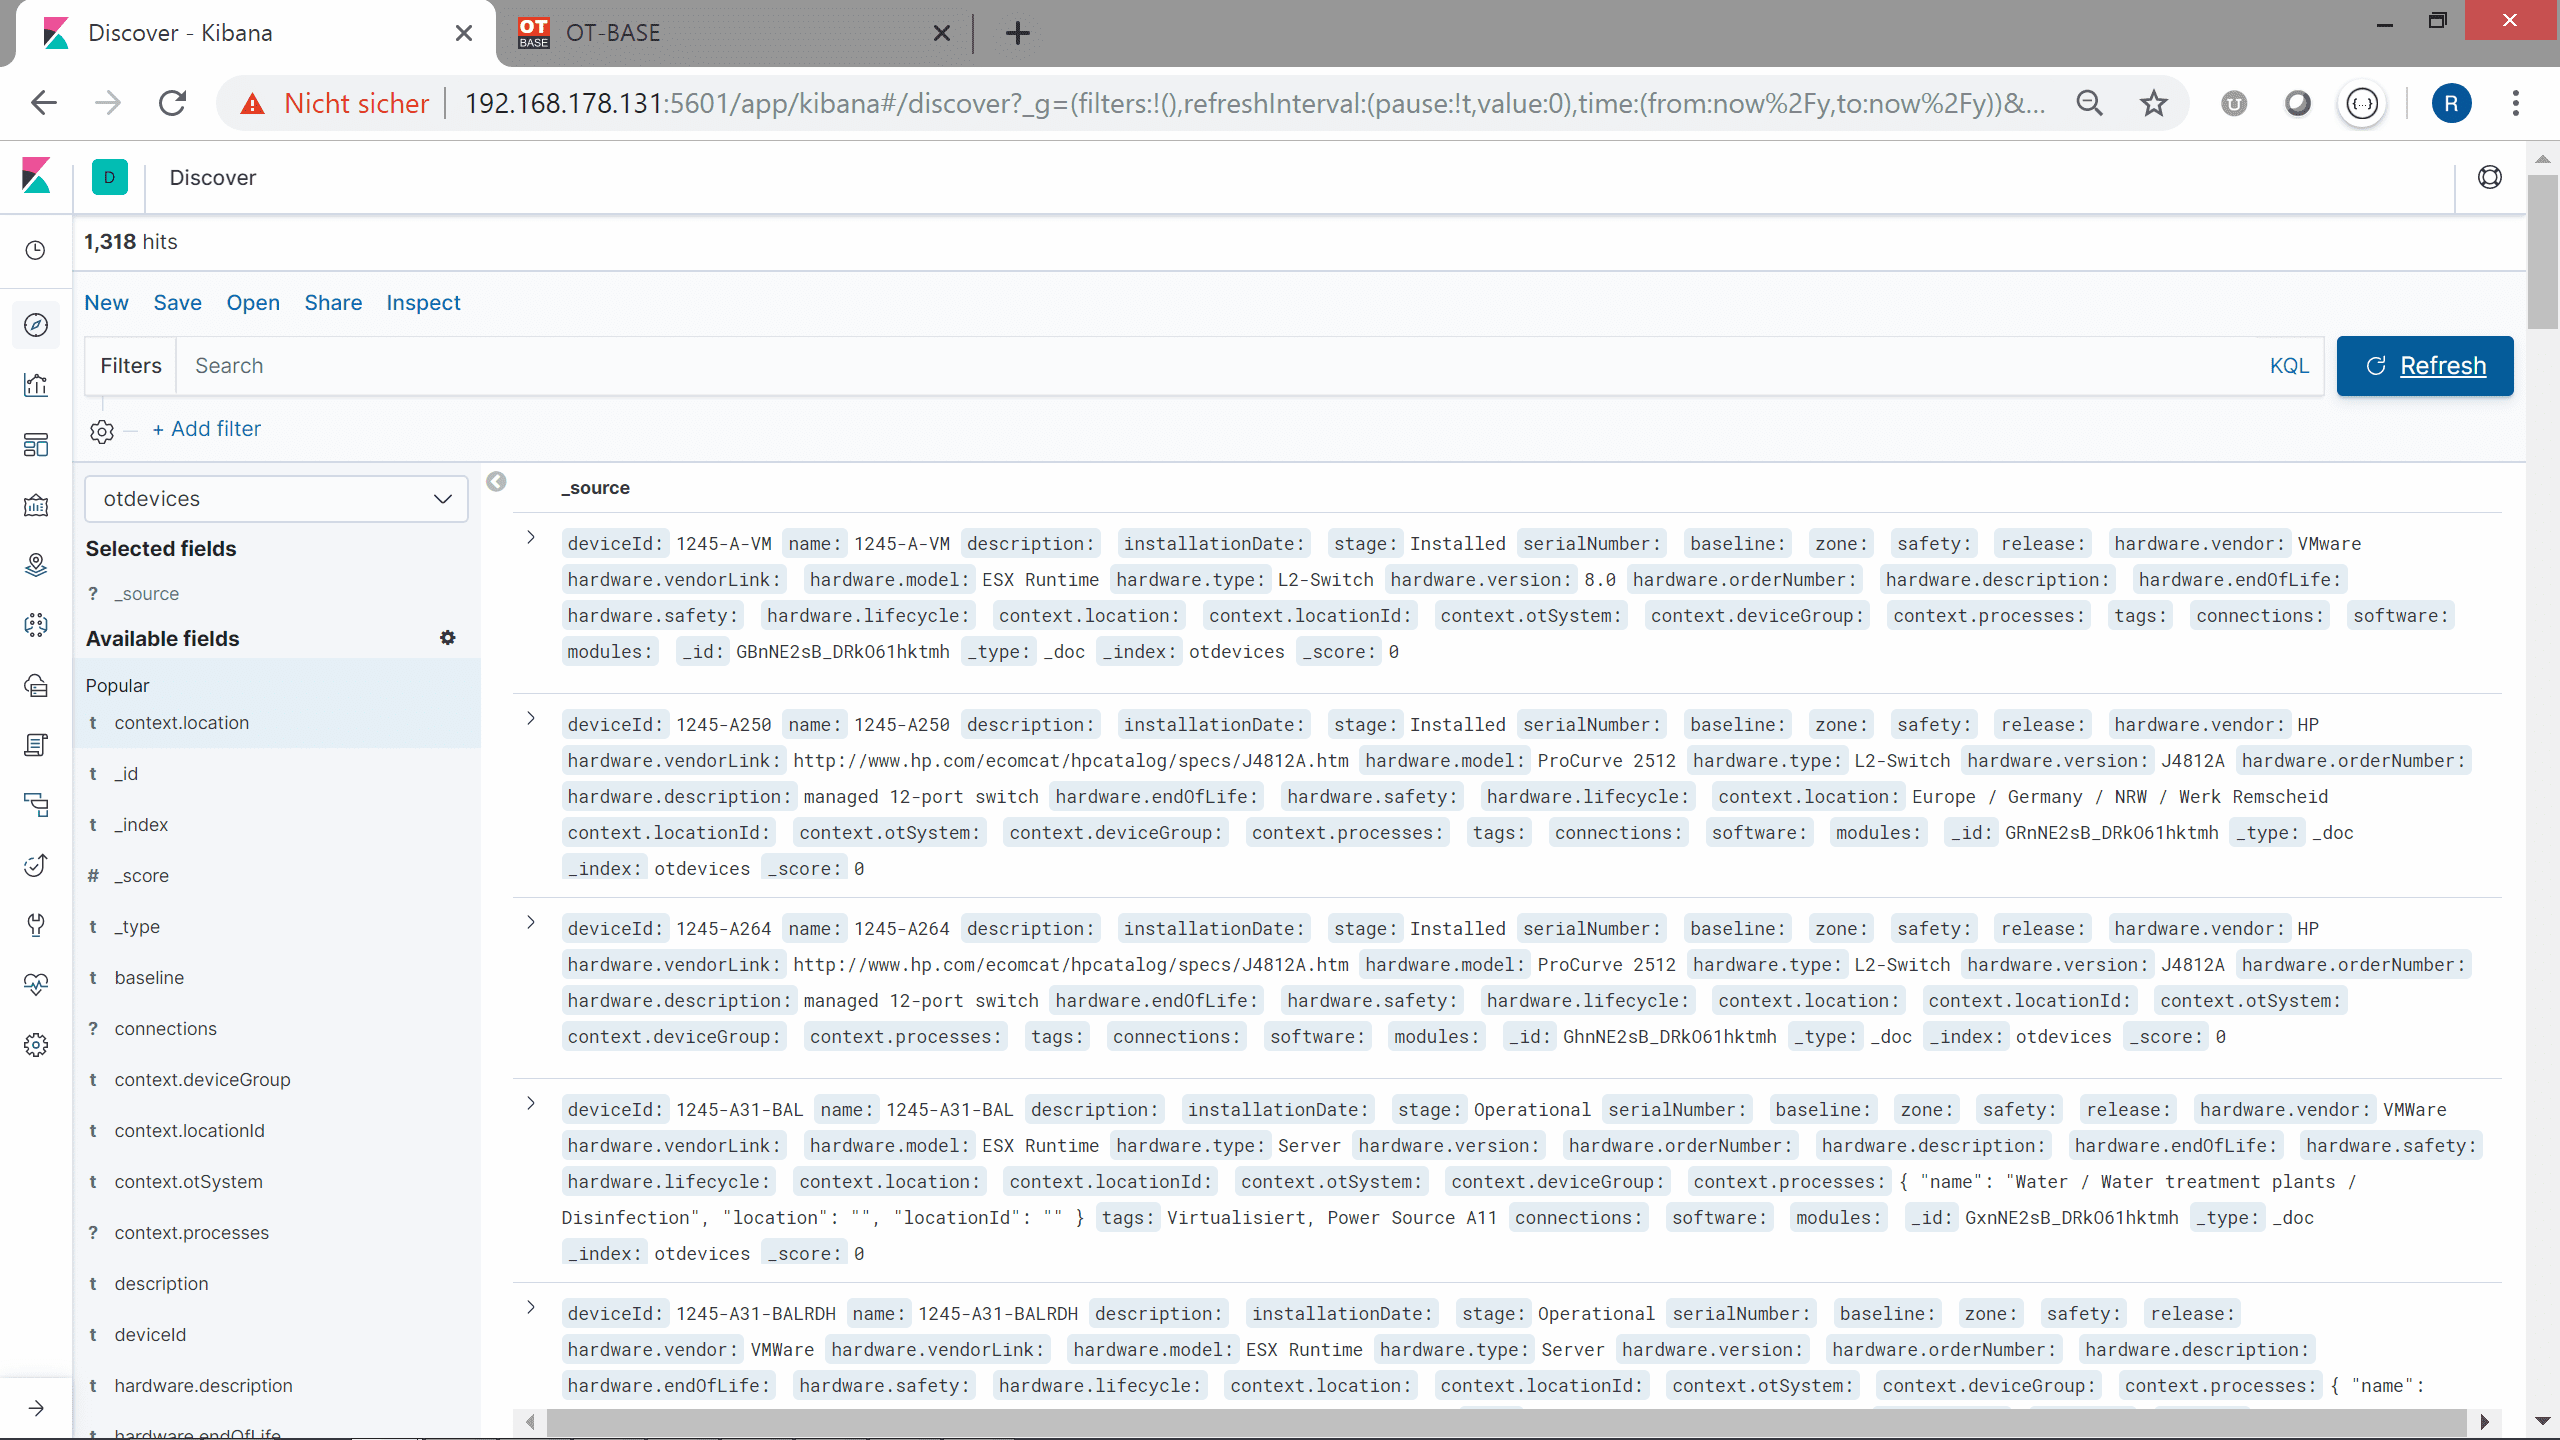
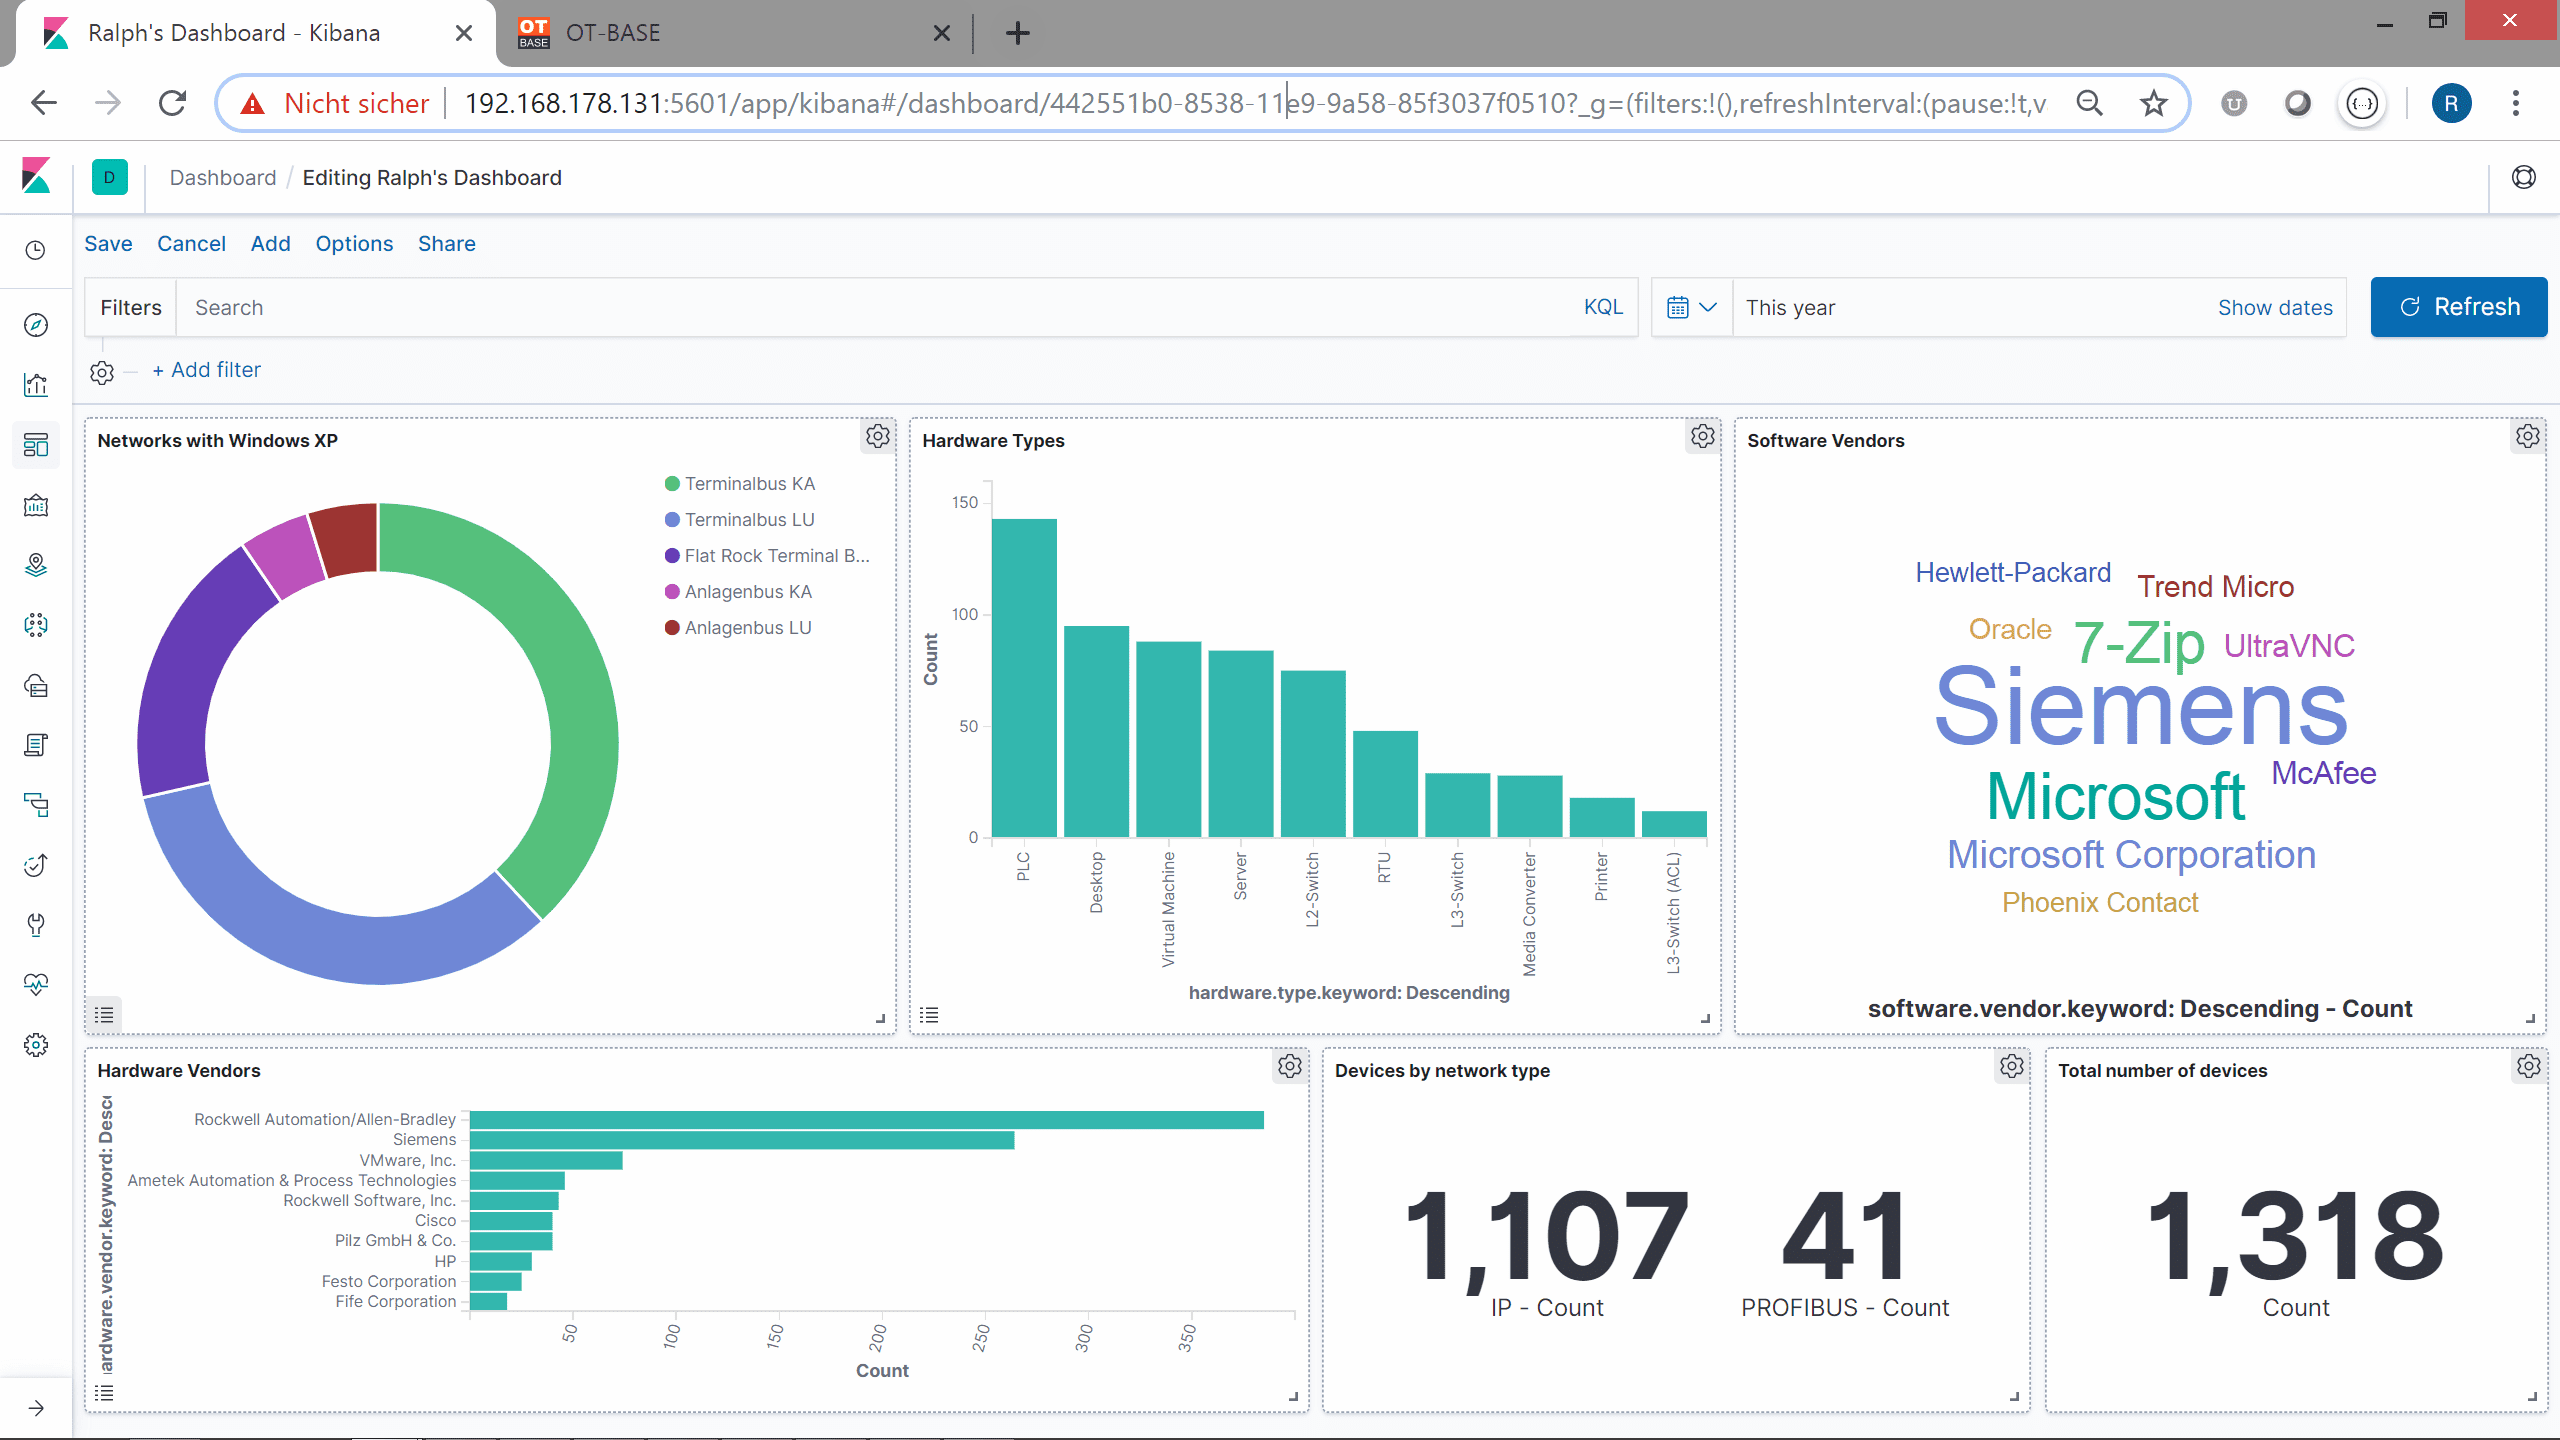
Then you can go straight to the Discovery page and start searching, or build fancy dashboards.
Check out the following five minute video that wraps up the necessary steps: